Power Assisted vs Automatic Doors: the complete guide to door automation systems
In today’s architectural landscape, automatic door and gate systems have evolved from mere convenience features to essential components of modern buildings.
The technology behind these automated entry solutions combines precision engineering with advanced electronics to deliver systems that enhance accessibility, improve energy efficiency, and elevate user experience.
With increasing demands for touchless operations in public spaces, understanding the distinctions between various automatic door and gate technologies has never been more critical.
Door automation solutions broadly fall into two primary categories: power assisted doors and fully automatic doors. While they may appear similar to casual observers, these systems differ significantly in operation, application, and technical specifications. This comprehensive guide will explore these differences, helping facility managers, architects, and property owners make informed decisions for their specific requirements.
Understanding Power Assisted Options in Automatic Door and Gate Systems
Power assisted doors represent an intermediate solution between fully manual doors and automatic doors. These systems are specifically designed to reduce the force required to open a door while maintaining some level of manual control over the door operation.
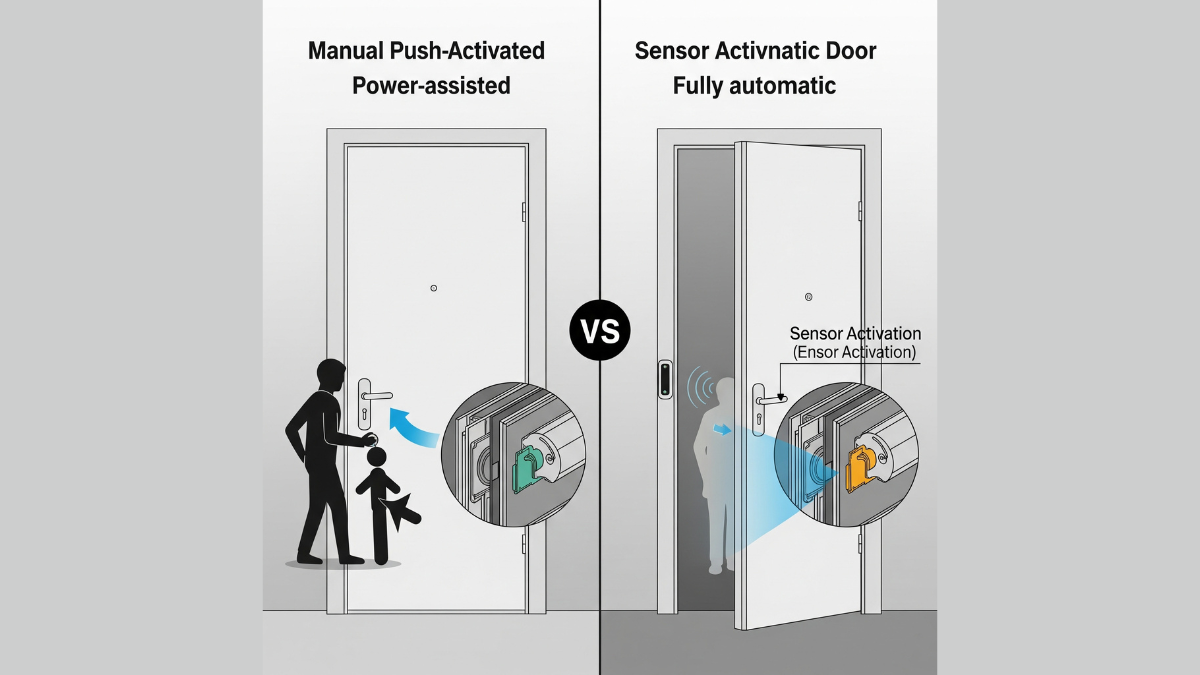
How Power Assisted Doors work
A power assisted door requires initial manual force to activate the assistance mechanism. When a user begins to push or pull the door, sensors detect this action and engage a motor or hydraulic system that provides additional force to complete the opening action. Power assisted doors are a type of door that requires some physical force to open, but also has a power assist mechanism to help with the opening and closing of the door.
Key characteristics of power assisted doors include:
- manual initiation. The door only activates when a user begins to open it
- reduced opening force. The technology makes it easier for people with physical disabilities or difficulty with mobility to open and close doors
- controlled operation. Provides some level of control over the opening and closing of the door
- partial automation. Assists rather than completely replaces manual operation
What is an Automatic Door?
Automatic doors, on the other hand, are doors that open and close automatically, without the need for physical force. These fully automated systems operate independently once triggered by a sensor or activator, requiring no manual intervention from the user.
How Automatic Doors work
Automatic doors are designed to open and close without the need for human intervention, providing convenience and efficiency in a variety of environments. These doors are equipped with sensors that detect motion, pressure, or other cues, and are designed to open in a variety of ways, such as sliding, swinging, or folding.
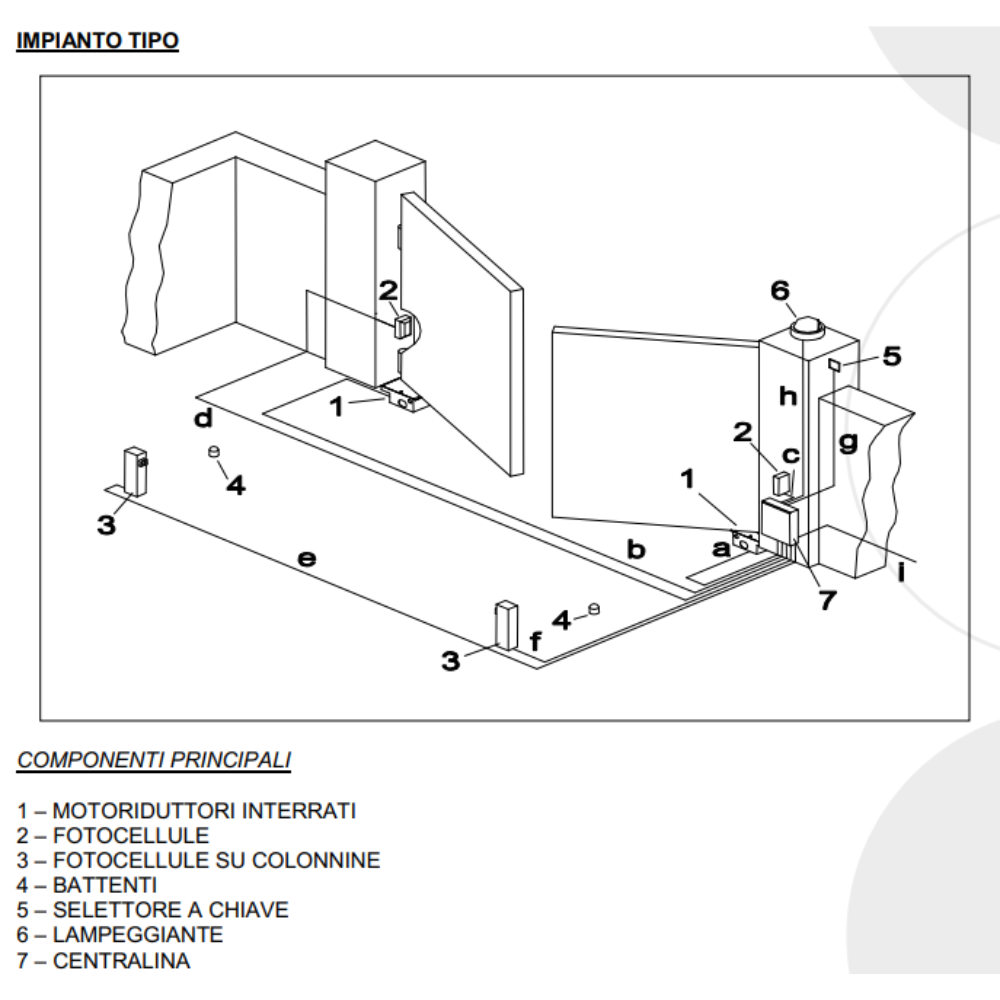
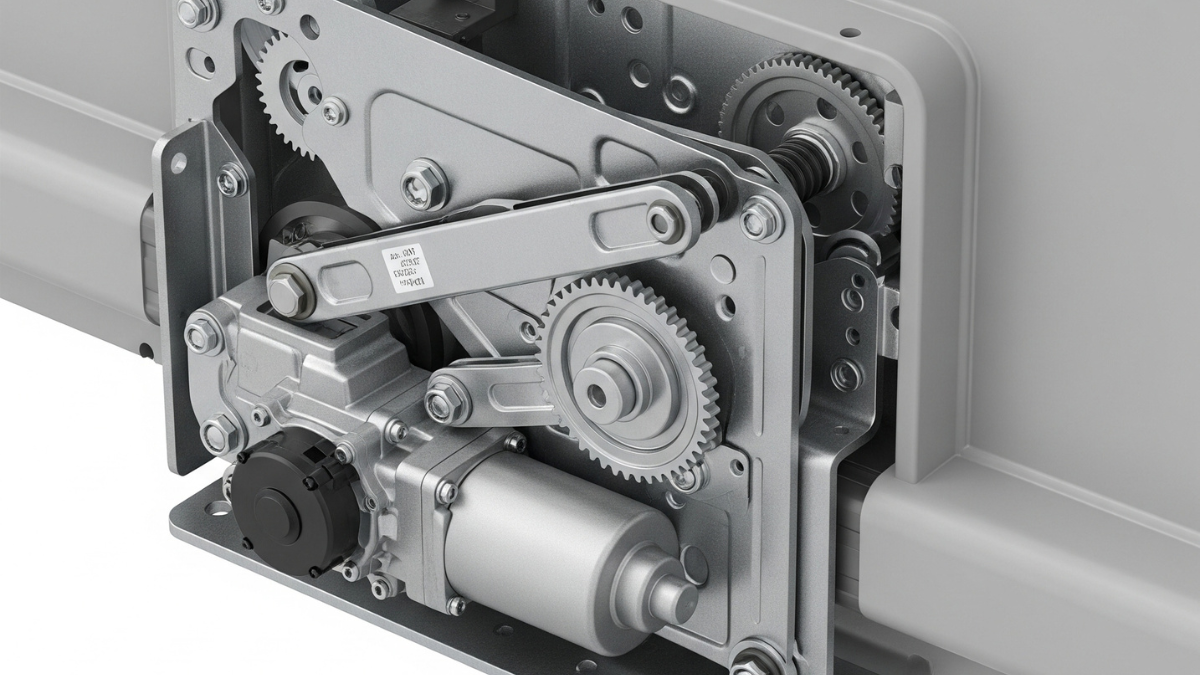
The core components of automatic door systems include:
- sensors. Motion, presence, or pressure-sensitive devices that detect approaching users
- control mechanisms. Electronic controllers that manage door movement
- drive units. Motors and gear systems that physically move the door
- safety features. Technology in automatic door systems allows them to avoid collisions by sensing people in their path and ensuring that doors open and close smoothly
These modern engineering marvels have seamlessly integrated into our daily lives, becoming an essential part of modern society and playing an important role across a range of sectors and industries including healthcare, education, residential, and commercial settings.
Key differences between Power Assisted and Automatic Doors
Understanding the fundamental distinctions between power assisted and automatic doors is crucial for selecting the appropriate system for your specific requirements.
| Feature | Power Assisted Doors | Automatic Doors |
| Activation | Requires manual initiation | Completely automated activation |
| Operation | Assists manual opening/closing | Fully automatic opening/closing |
| Energy Consumption | Generally lower | Typically higher |
| Installation | Often simpler, can retrofit existing doors | May require more complex installation |
| Applications | Ideal for areas where there is a need to maintain some level of control over opening/closing, such as hospitals, nursing homes, and schools | Ideal for areas where ease of access and convenience are important, such as airports, retail stores, and office buildings |
| Cost | Usually lower initial investment | Typically higher initial investment |
Types of Automatic Door Systems
The automatic door category encompasses several distinct systems, each designed to address specific architectural and operational requirements.
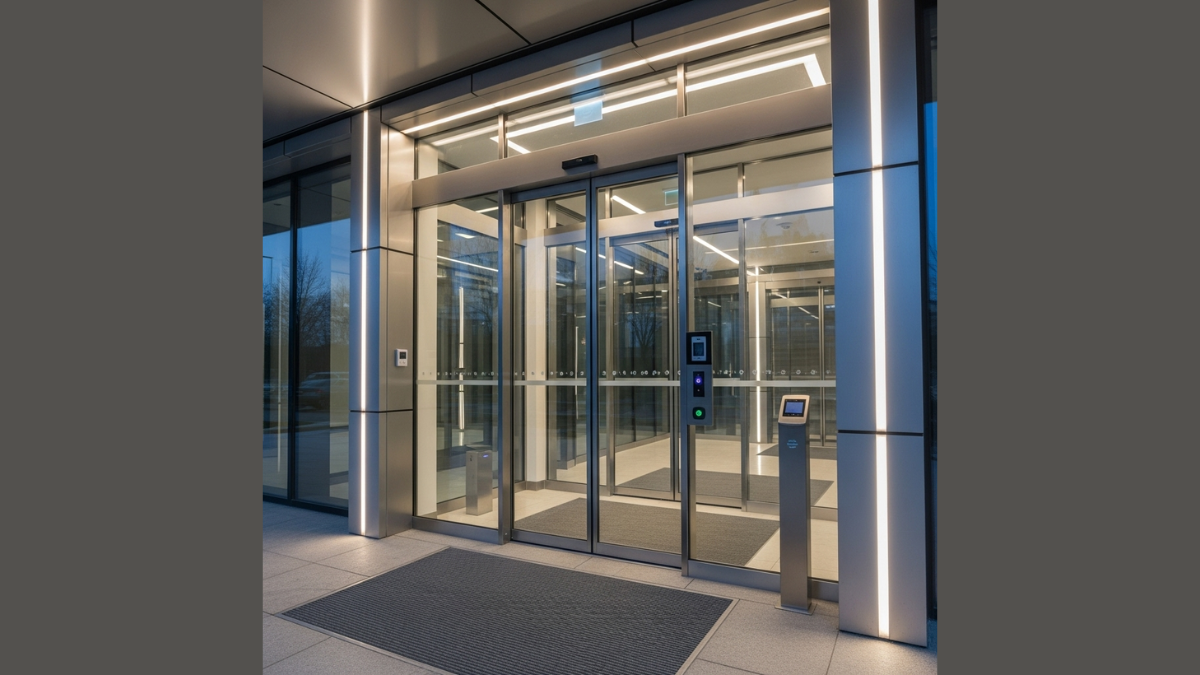
Sliding Automatic Doors
Sliding automatic doors are used across several sectors. Whether it’s a hermetically sealed sliding door for a hospital or a curved sliding door for a residential project, these doors offer solutions that can be tailored to specific requirements. Sliding doors are particularly beneficial in spaces where swing path clearance is limited.
Swinging Automatic Doors
Single leaf automatic doors consist of only one door panel, making them better suited to narrow openings typically found in retail shops, offices, and houses. They generally open in one direction (inward or outward) or slide to the side when activated.
Double leaf automatic doors, also commonly referred to as bi-parting doors, are better suited to wider entrances such as those found in large commercial buildings, hospital entrances, and airports. They consist of two panels that open and close simultaneously, usually from the center with both panels moving away from each other, providing a wider and more accessible entrance.
Revolving Doors
Revolving doors offer unique advantages in high-traffic environments, particularly for buildings where maintaining internal climate control is essential. These systems reduce air exchange between interior and exterior spaces while facilitating continuous pedestrian flow.
Telescopic Doors
Telescopic automatic doors feature multiple sliding panels that overlap when open, maximizing the available passage width while minimizing the required wall space. This design makes them ideal for entrances with limited lateral space.
Contact our engineering team for a personalized consultation to determine which door automation system best suits your specific architectural requirements and traffic patterns.
Benefits and applications of Door Automation
Door automation systems deliver numerous advantages across various sectors and applications.
Accessibility enhancement
Automatic door solutions make it easier for people with mobility issues, such as wheelchair users or people carrying heavy loads, to get around. They promote accessibility and inclusivity by allowing everyone to enter and exit a building easily.
Safety improvements
The technology in automatic door systems allows them to avoid collisions by sensing people in their path and ensuring that doors open and close smoothly. This reduces the likelihood of accidents and injuries and improves the safety of your building.
Energy efficiency
Automated doors save energy by reducing heat or cool air loss, making them an environmentally friendly option. They lower energy costs by maintaining consistent indoor temperatures.
Hygiene and touchless operation
In healthcare facilities and other environments where contamination control is critical, automatic doors eliminate the need to touch door handles, reducing the potential transfer of pathogens. While automatic doors have always been a good option for providing greater access to people with disabilities, hygiene concerns associated with the spread of disease have presented another argument for their use.
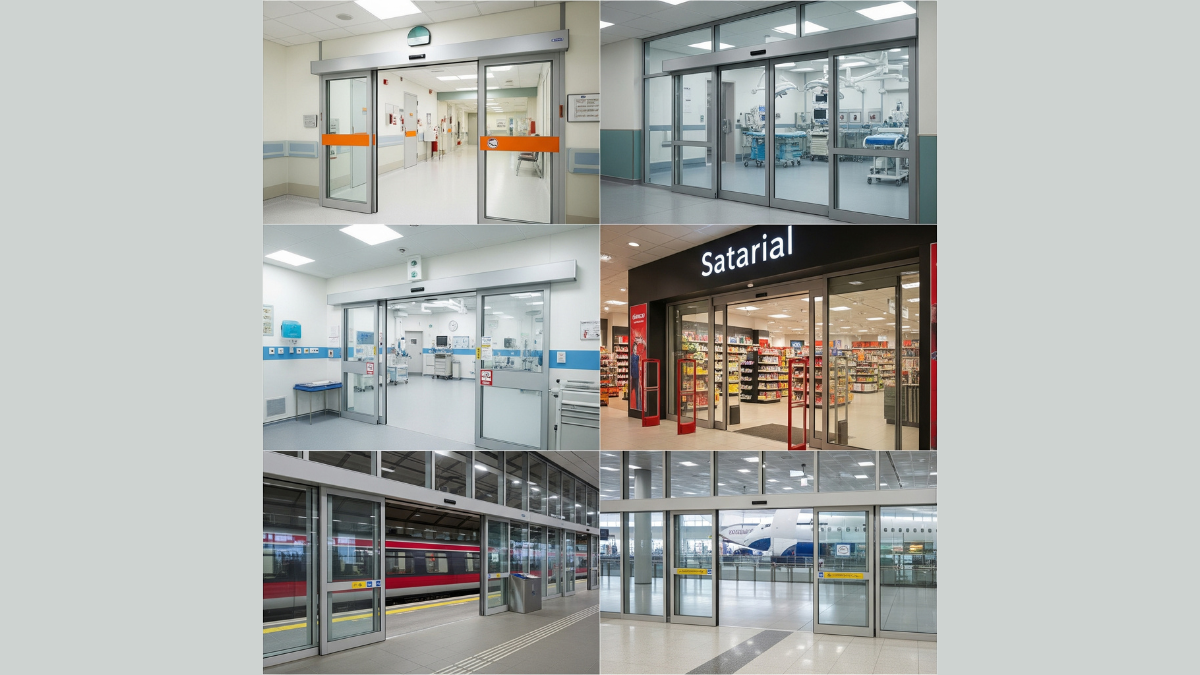
Sector-specific applications
- Healthcare: Hermetically sealed doors for operating rooms and clean rooms
- Retail: High-traffic entrances with customer-friendly access
- Transportation: Efficient passenger flow management in terminals and stations
- Hospitality: Elegant, welcoming entrances that enhance guest experience
- Industrial: Robust systems capable of handling heavy usage and environmental challenges
Low Energy Door Operators vs Full Energy Operators
The distinction between low energy and full energy operators is crucial when selecting the appropriate automatic door system.
Low Energy Operators
Low-energy door operators are used when manual operation is the default setting but there needs to be an automatic option. This eliminates the door being an accessibility barrier for people with limited mobility.
A low energy door operator can be easily used by:
- a person using a walker, wheelchair, or mobility scooter
- a parent or caregiver with a stroller
- a worker pushing a delivery cart, dolly, or hand truck
Low energy operators focus on accessibility compliance with slower opening and closing speeds, making them ideal for areas with limited mobility users.
Full Energy Operators
High energy operators are ideal for high-traffic areas like airports, where a constant stream of users will be served. High-energy openers focus on speed and handle frequent use cycles, often triggered by motion sensors for hands-free operation and convenience.
Full Energy Automatic Door Operators are manufactured for environments with high traffic and heavy doors and often include advanced features such as programmable opening delays, safety sensors (like motion sensors or infrared sensors) to prevent collisions, and multiple activation methods (push buttons, remote controls, RFID cards).
Featuring robust motors capable of swift and powerful door operation and ensuring smooth traffic flow, they are ideal for locations like hospitals, airports, and industrial facilities where durability, speed, and security are critical.
Installation considerations
When implementing door automation systems, several factors must be carefully evaluated to ensure optimal performance and compliance.
Site assessment
Before selecting a door automation system, it’s essential to assess:
- traffic volume and patterns
- available space for door operation
- structural considerations of existing doorways
- power availability and electrical requirements
- environmental factors (wind load, temperature extremes)
Retrofit vs. new installation
A significant advantage of a low energy operator is that it can be installed on existing doors. Only the operator and an activation device need to be added. The door, frame, and hardware do not need to be modified; no additional safety devices are required either. This is ideal for retrofits, upgrades, or architectural preservation projects that need to satisfy ADA.
In contrast, high energy door operators are a significant upfront investment because the door operator is only one part of the entire assembly. A high energy door is a complete system that includes the frame, door, activation sensor, and presence sensor; swinging versions also need a safety rail. This is not a retrofit solution — it must be specified as part of a new construction project or as a complete replacement during a renovation.
Our engineering team offers complimentary site assessments to evaluate your facility’s needs and recommend the most suitable automation solution.
Schedule your consultation today.
Maintenance requirements
Regular maintenance is essential for ensuring the longevity and reliable operation of door automation systems.
Preventative maintenance schedule
A comprehensive maintenance program typically includes:
- quarterly inspection of sensors and safety features
- semi-annual lubrication of moving components
- annual calibration of door operators
- periodic testing of backup systems and power failure protocols
Common issues and troubleshooting
Understanding potential operational issues can help facility managers address problems promptly:
- incorrect sensor sensitivity settings
- wear on mechanical components
- power supply fluctuations
- control system programming errors
Professional maintenance services from experienced technicians can significantly extend the operational life of door automation systems while ensuring consistent performance and safety compliance.
Compliance and safety standards
Both the Americans with Disabilities Act Standards as well as building codes require additional compliance with standards set by the Builders Hardware Manufacturers Association (BHMA) for Power Assist and Low Energy Power Operated Doors.
Key safety standards and regulatory requirements include:
- ANSI/BHMA A156.10 for full-power automatic doors
- ANSI/BHMA A156.19 for low-energy and power-assisted doors
- local building codes regarding egress and fire safety
- industry-specific standards (healthcare, transportation, etc.)
As far as signage, all Power Assist and Low Energy Doors have their signs mounted at 50″ ±12″ from the floor to the centerline of the sign and visible from both sides of the door with a letter height of ⅝” minimum.
Making the right choice for your facility
Selecting the optimal door automation solution requires balancing several factors to align with your specific operational requirements.
Assessment criteria
When evaluating door automation options, consider:
- traffic volume. Higher traffic necessitates more robust automation
- user demographics. Facilities serving elderly or disabled populations benefit from specific features
- architectural constraints. Available space and structural considerations
- budget considerations. Initial investment vs. long-term operational costs
- energy efficiency goals. Impact on building climate control
- security requirements. Integration with access control systems
Customization options
Modern door automation systems offer extensive customization possibilities:
- finish options to complement architectural aesthetics
- integration with building management systems
- specialized sensors for specific environments
- programmable operation modes for varying conditions
With over 50 years of experience in the automation industry, our team provides tailored solutions that combine traditional manufacturing excellence with cutting-edge technology. Our automation systems are designed to deliver reliability, durability, and customization to meet the specific requirements of your facility.
Ready to enhance your facility with state-of-the-art door automation systems? Contact our team of experts to discuss your project requirements and discover the perfect solution for your needs.
By understanding the key differences between power assisted and automatic doors, facility managers and architects can make informed decisions that enhance accessibility, improve efficiency, and provide superior user experiences. The right door automation solution delivers not just convenience, but also contributes to sustainability goals, maintenance efficiency, and overall building performance.